Amazon Seller Central setup made easy—follow these 5 essential steps to get started. This comprehensive guide walks you through account types, registration, tax and payment settings, and brand protection for new sellers.

Setting up your Amazon Seller Central account is the foundation of your e-commerce journey. This step-by-step guide walks you through choosing the right account type, completing your registration, setting up store details, managing tax and payment information, and securing your seller account.
Whether you’re selling from the U.S. or abroad, this guide ensures you’re fully prepared to launch a professional Amazon store.
Table of Contents:
1. Choosing the Right Amazon Seller Account Type
2. Entering Required Information and Documents
3. Setting Up Store Details and Registering Your Brand
4. Completing Payment and Tax Settings
5. Listing Products and Securing Your Account
1. Choosing the Right Amazon Seller Account Type
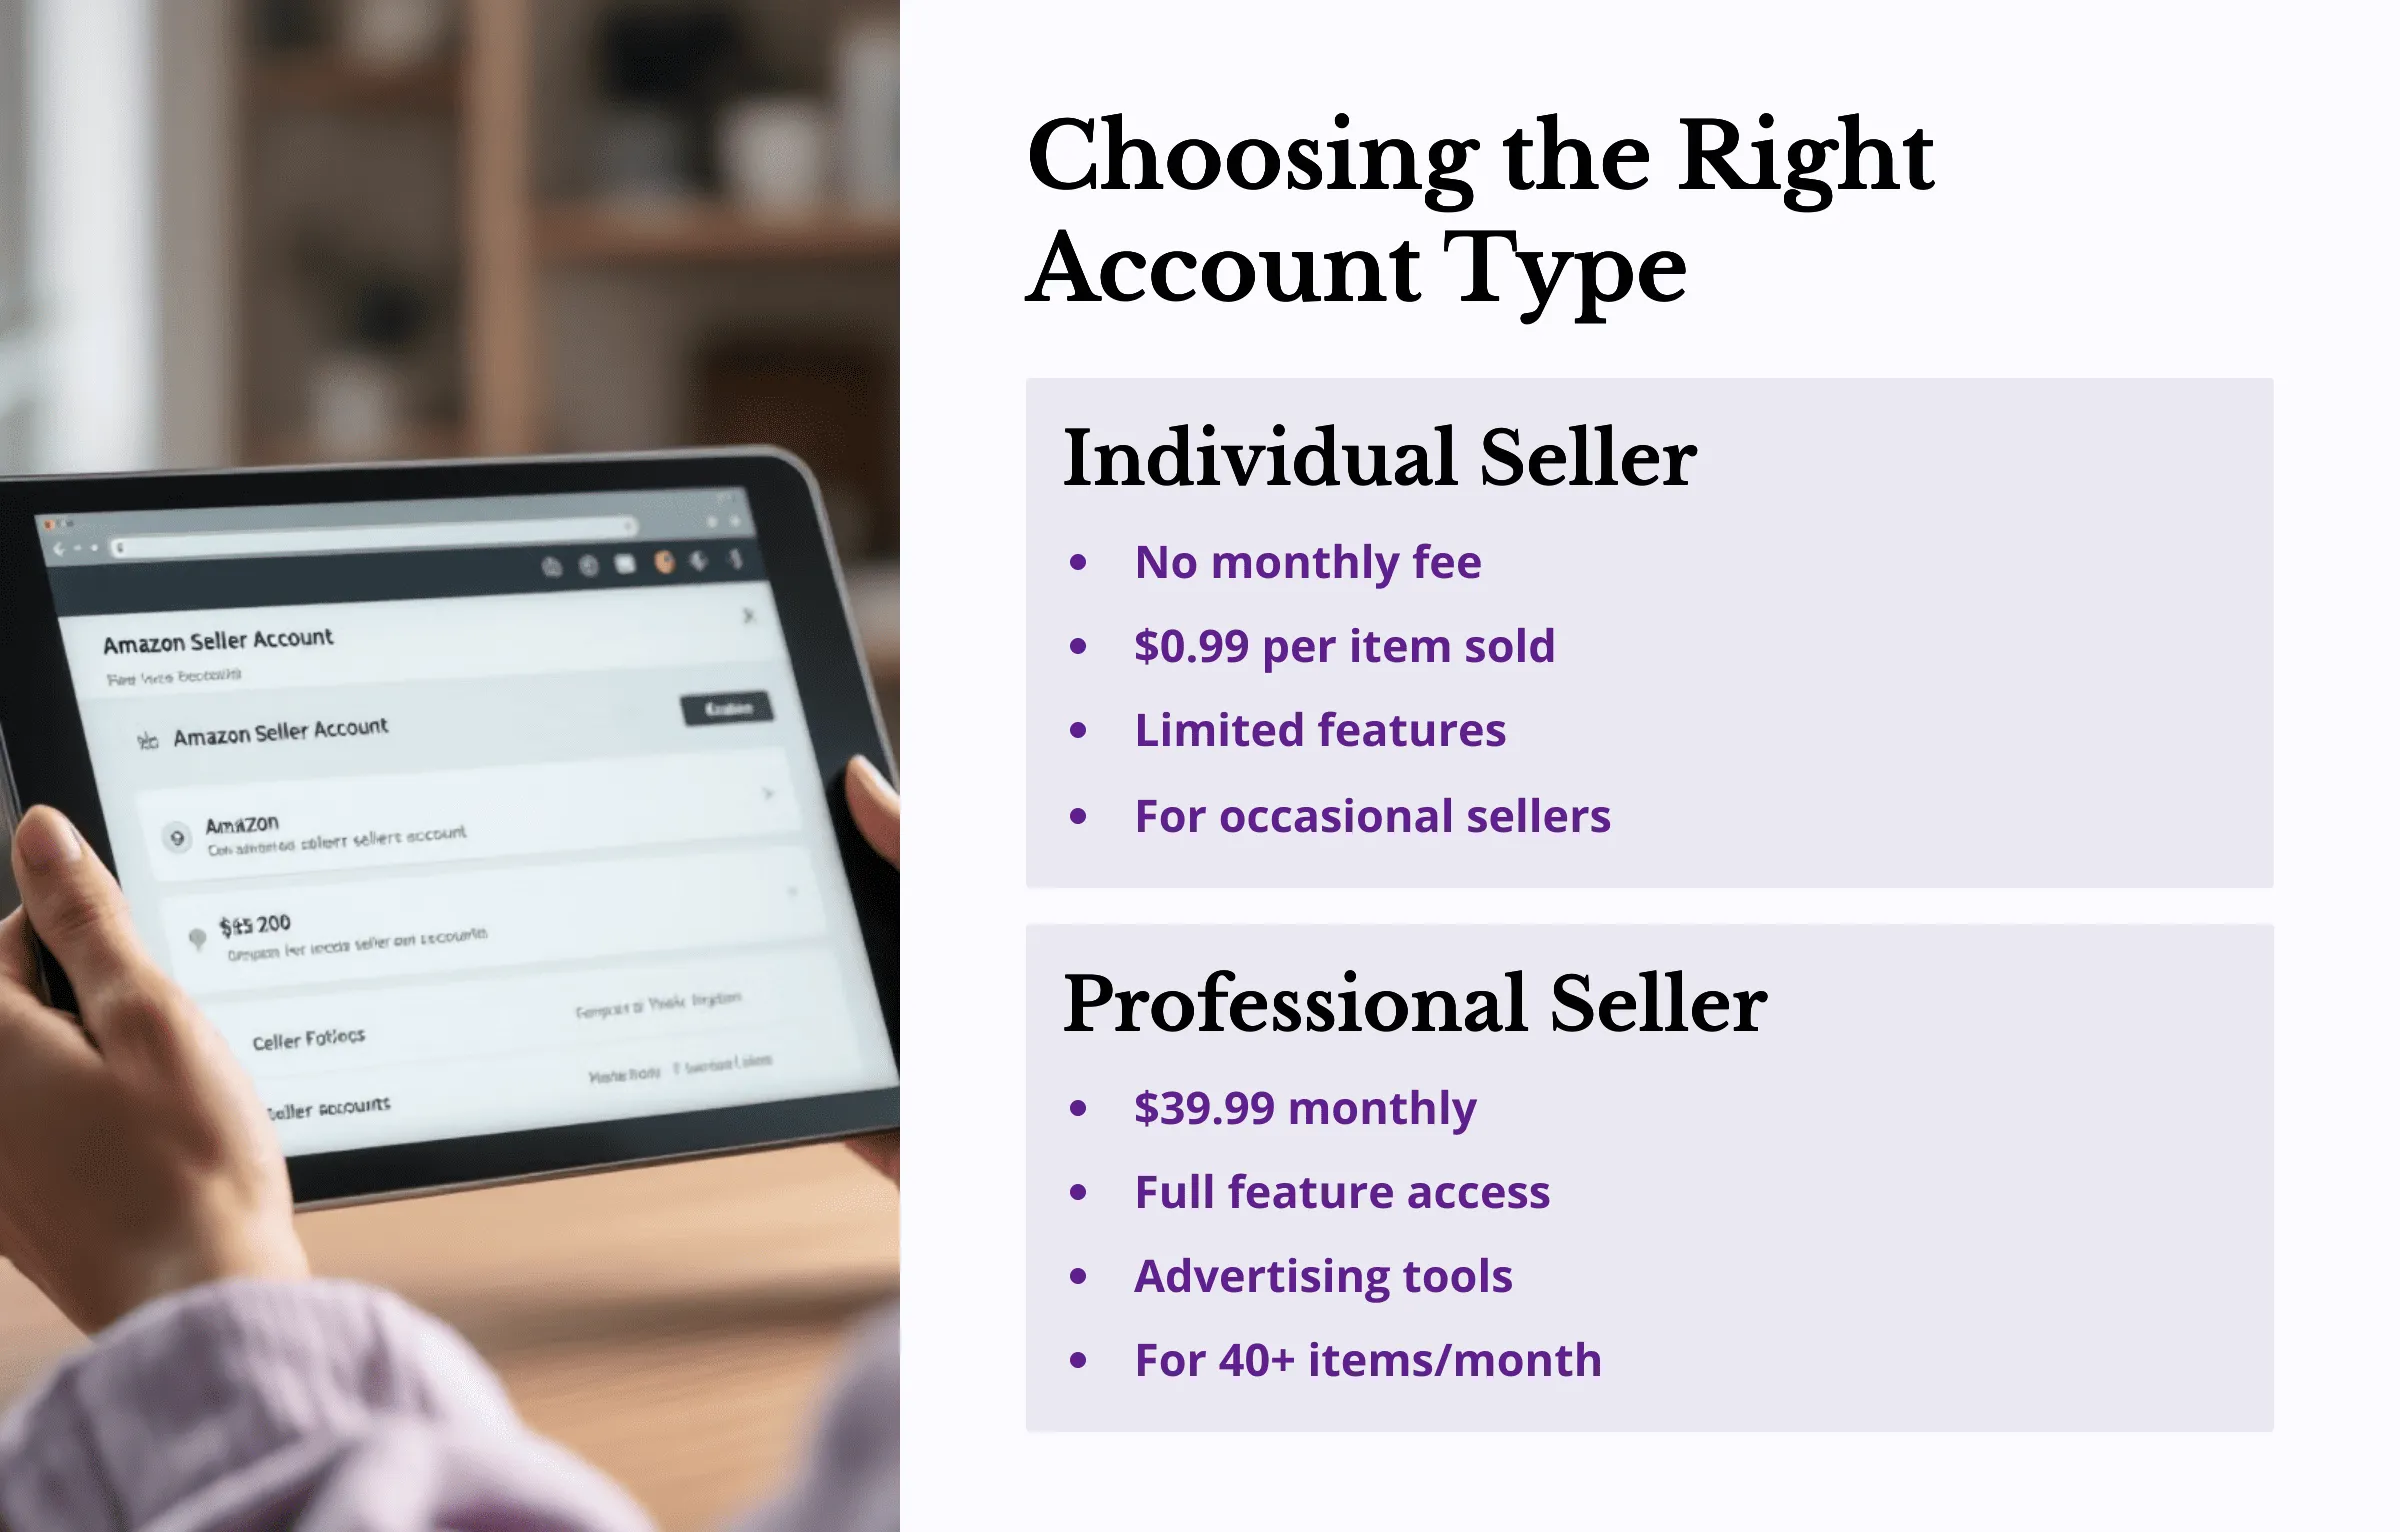
To begin selling on Amazon, you must choose between an Individual or Professional Seller account. Your choice impacts available features and fees.
Individual Seller Account:
- No monthly subscription fee
- $0.99 fee per item sold
- Limited features (e.g., no ad campaigns or API access)
- Best for new or occasional sellers
Professional Seller Account:
- $39.99 monthly subscription
- Access to advertising, reporting tools, and order automation
- Ideal for high-volume sellers (40+ items/month)
- More competitive in the Buy Box
Selecting the right account based on your business model ensures long-term success.
2. Entering Required Information and Documents
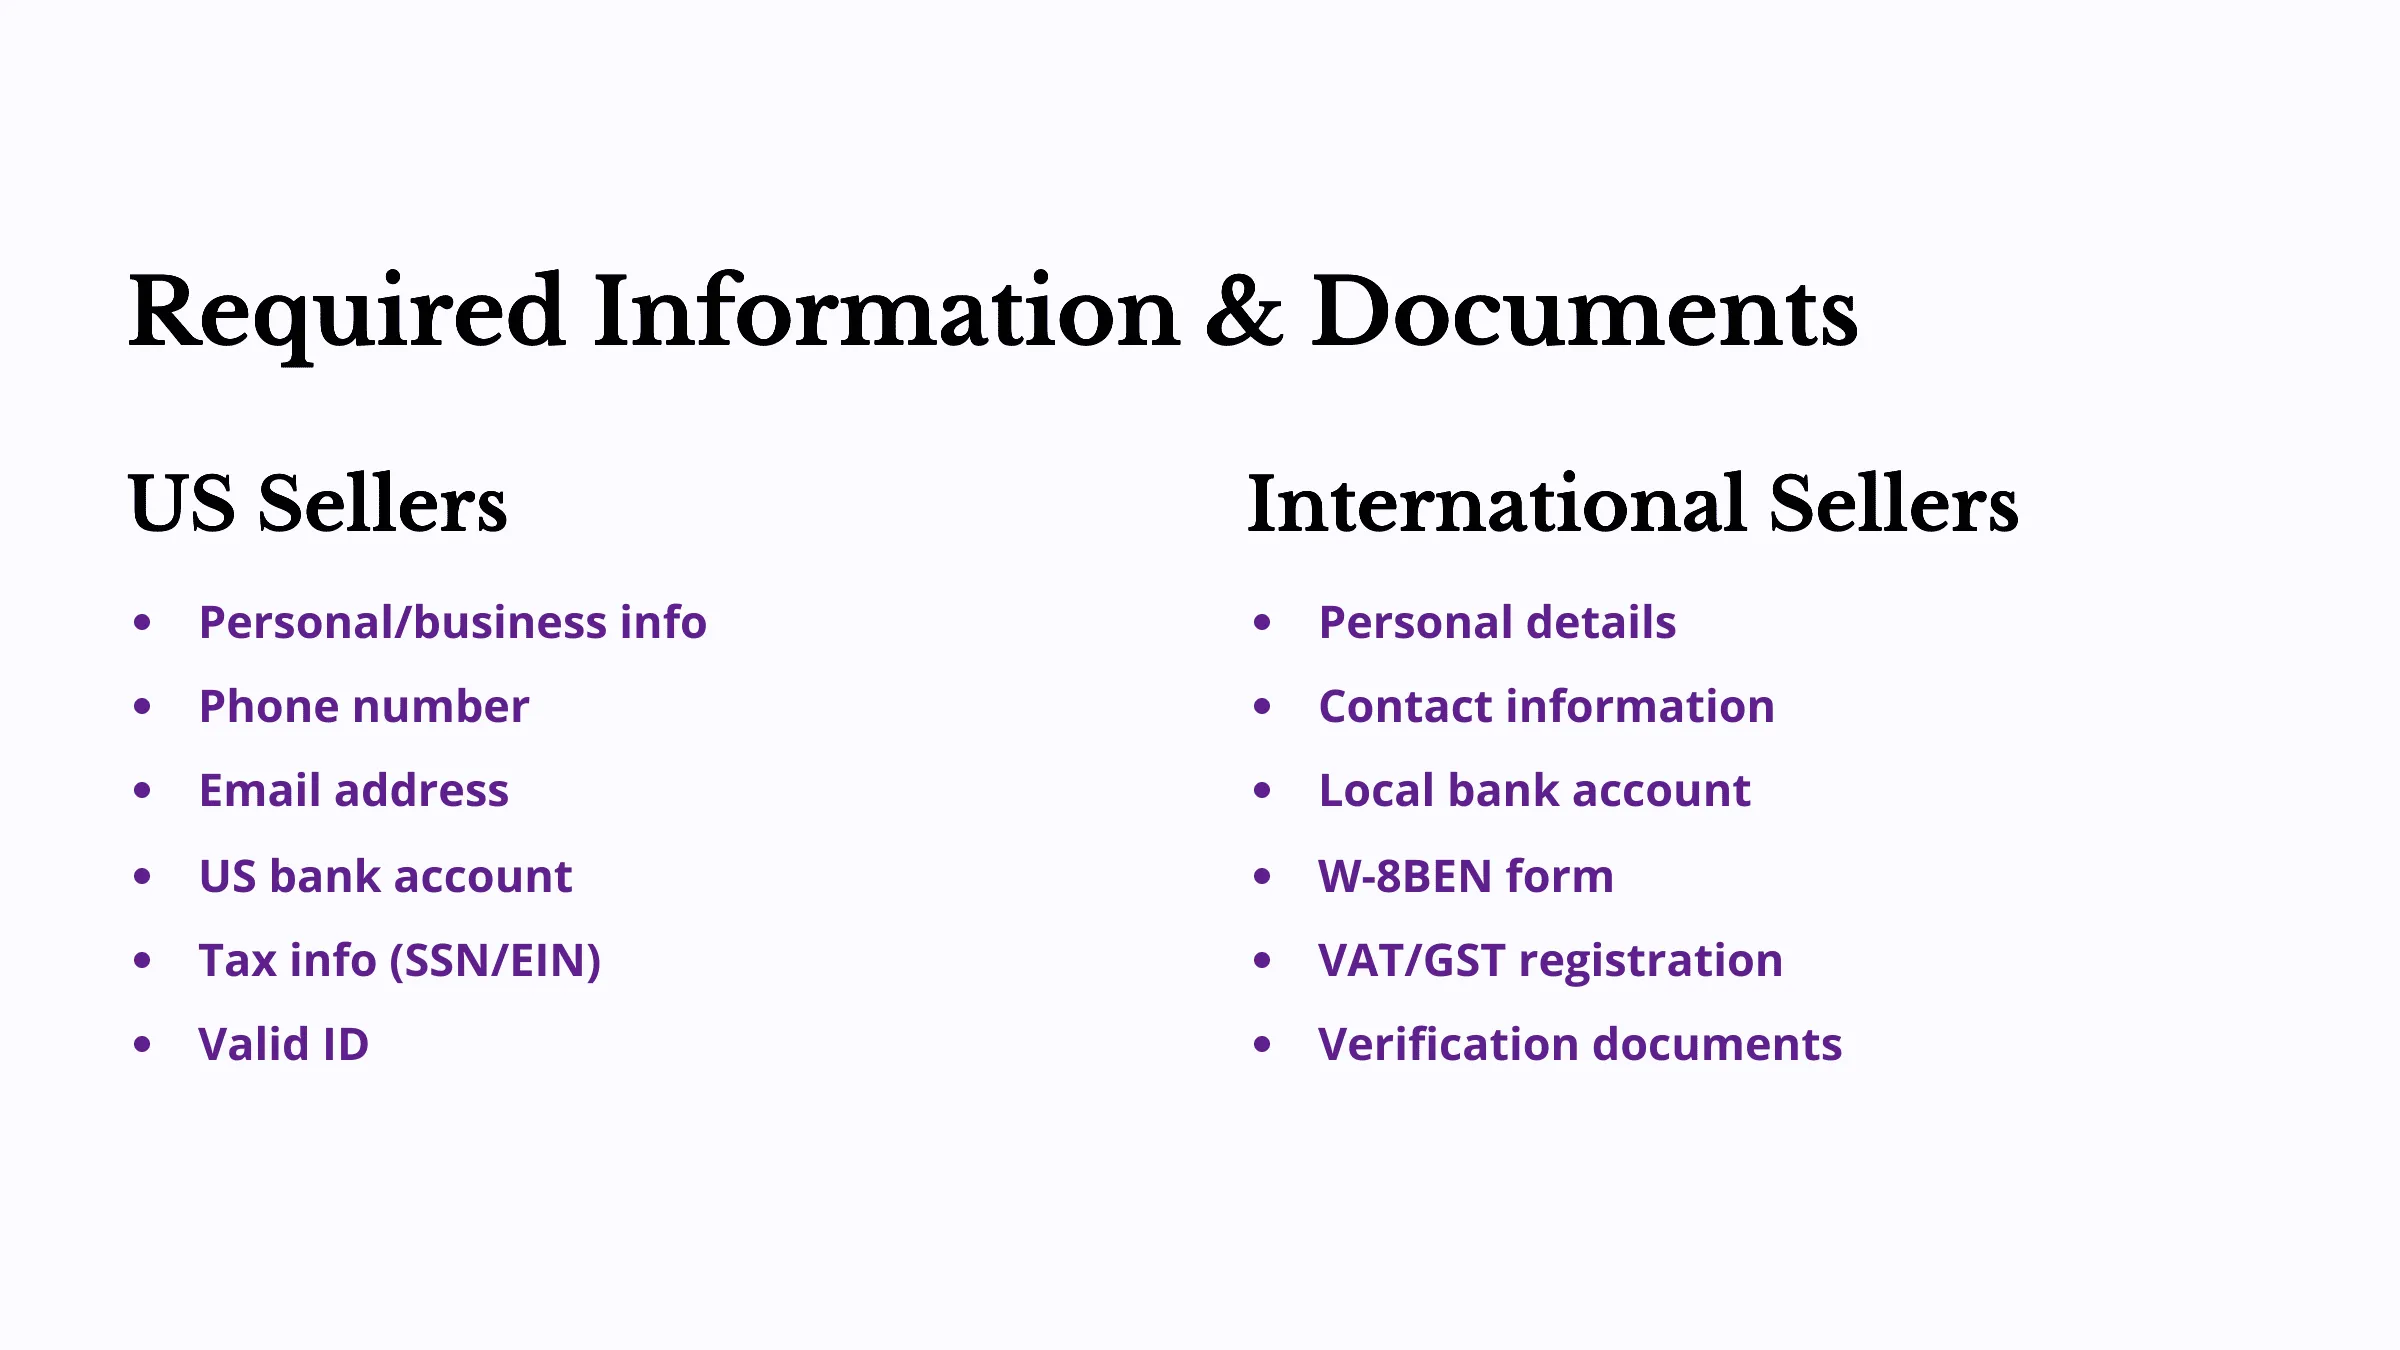
During registration, you’ll need to submit the following details. Requirements vary slightly for U.S.-based vs. international sellers.
For U.S.-Based Sellers:
- Personal and business information: Must match government-issued ID
- Phone number: For verification and customer support
- Email address: For order notifications and recovery
- Bank account: U.S.-based account with routing and account numbers
- Tax info: Complete the IRS tax interview using SSN or EIN
- ID verification: Upload a valid ID (passport, driver’s license); utility bills may be required
For International Sellers:
- Personal details: Name and address matching official ID
- Phone and email: Valid international contact information
- Bank account: Supported local account or global payment service
- Tax documentation: Submit W-8BEN form for U.S. tax exemption
- VAT/GST registration: May be required depending on country (UK, EU, Australia, Canada, Japan)
- Verification documents: Passport or national ID, utility bills, and business registration documents as needed
Amazon typically reviews and verifies your information within 24–72 hours. Ensure all data is accurate to avoid delays.
3. Setting Up Store Details and Registering Your Brand
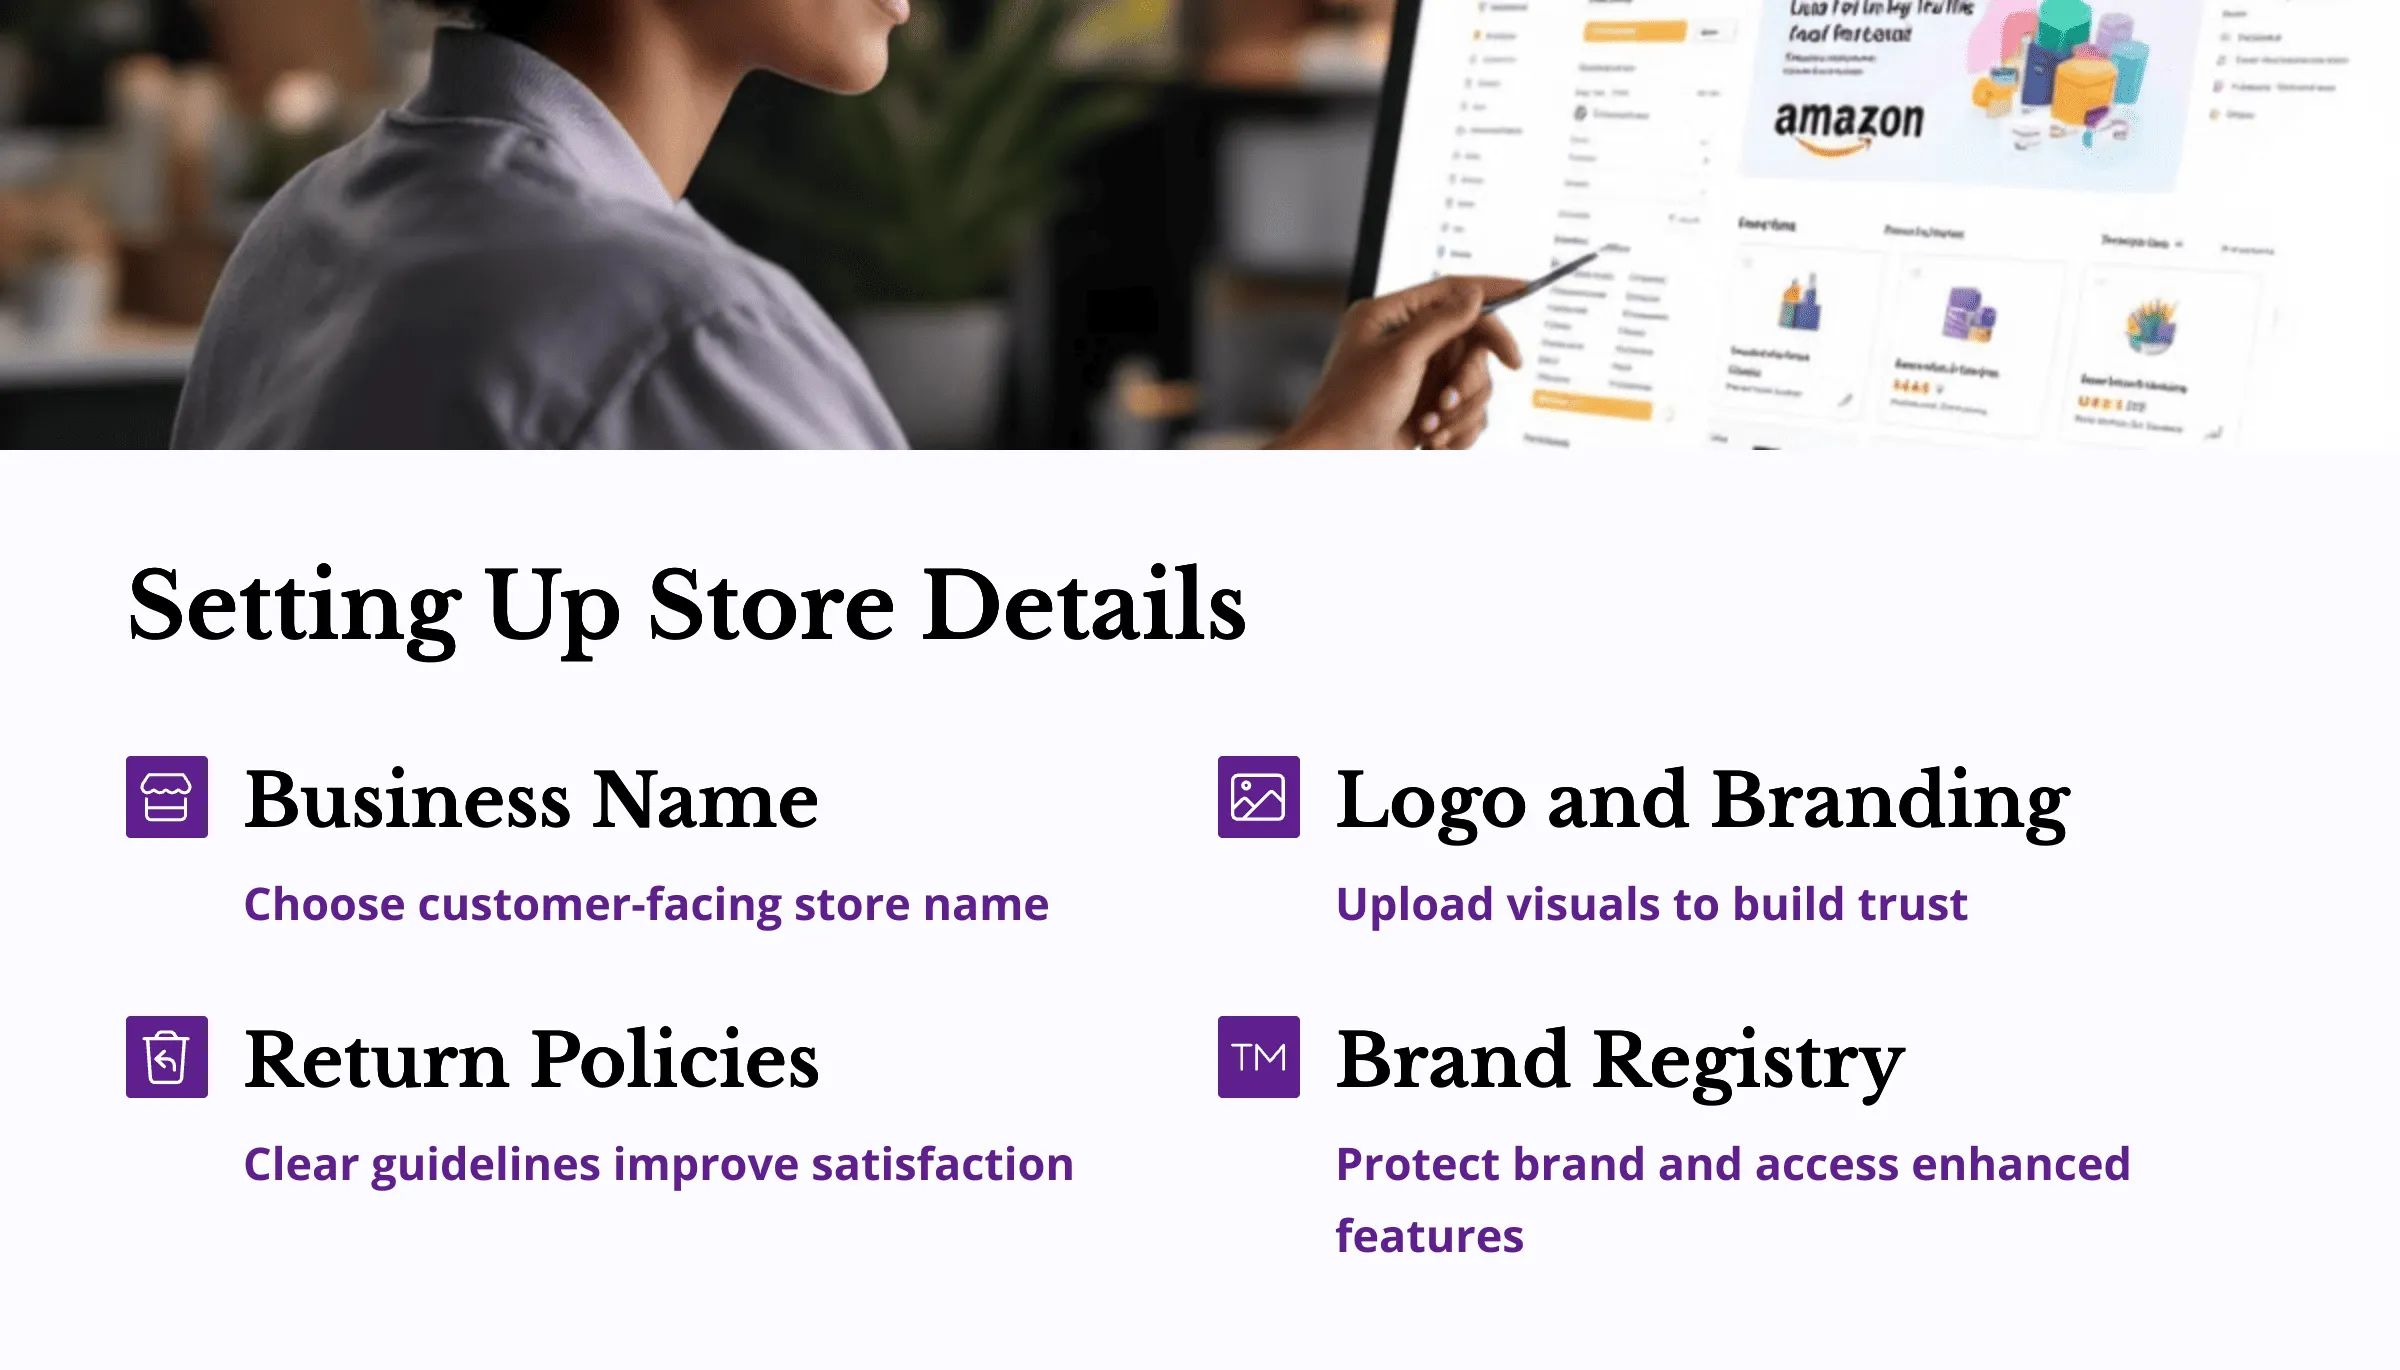
Once your account is live, set up your store profile:
- Business name: Displayed to customers
- Logo and branding: Upload visuals to build trust
- Return and customer service policies: Clear guidelines improve customer satisfaction
- Brand Registry: Protect your brand and gain access to enhanced features
Registering your brand with Amazon Brand Registry is recommended for long-term brand protection and marketing benefits.
4. Completing Payment and Tax Settings
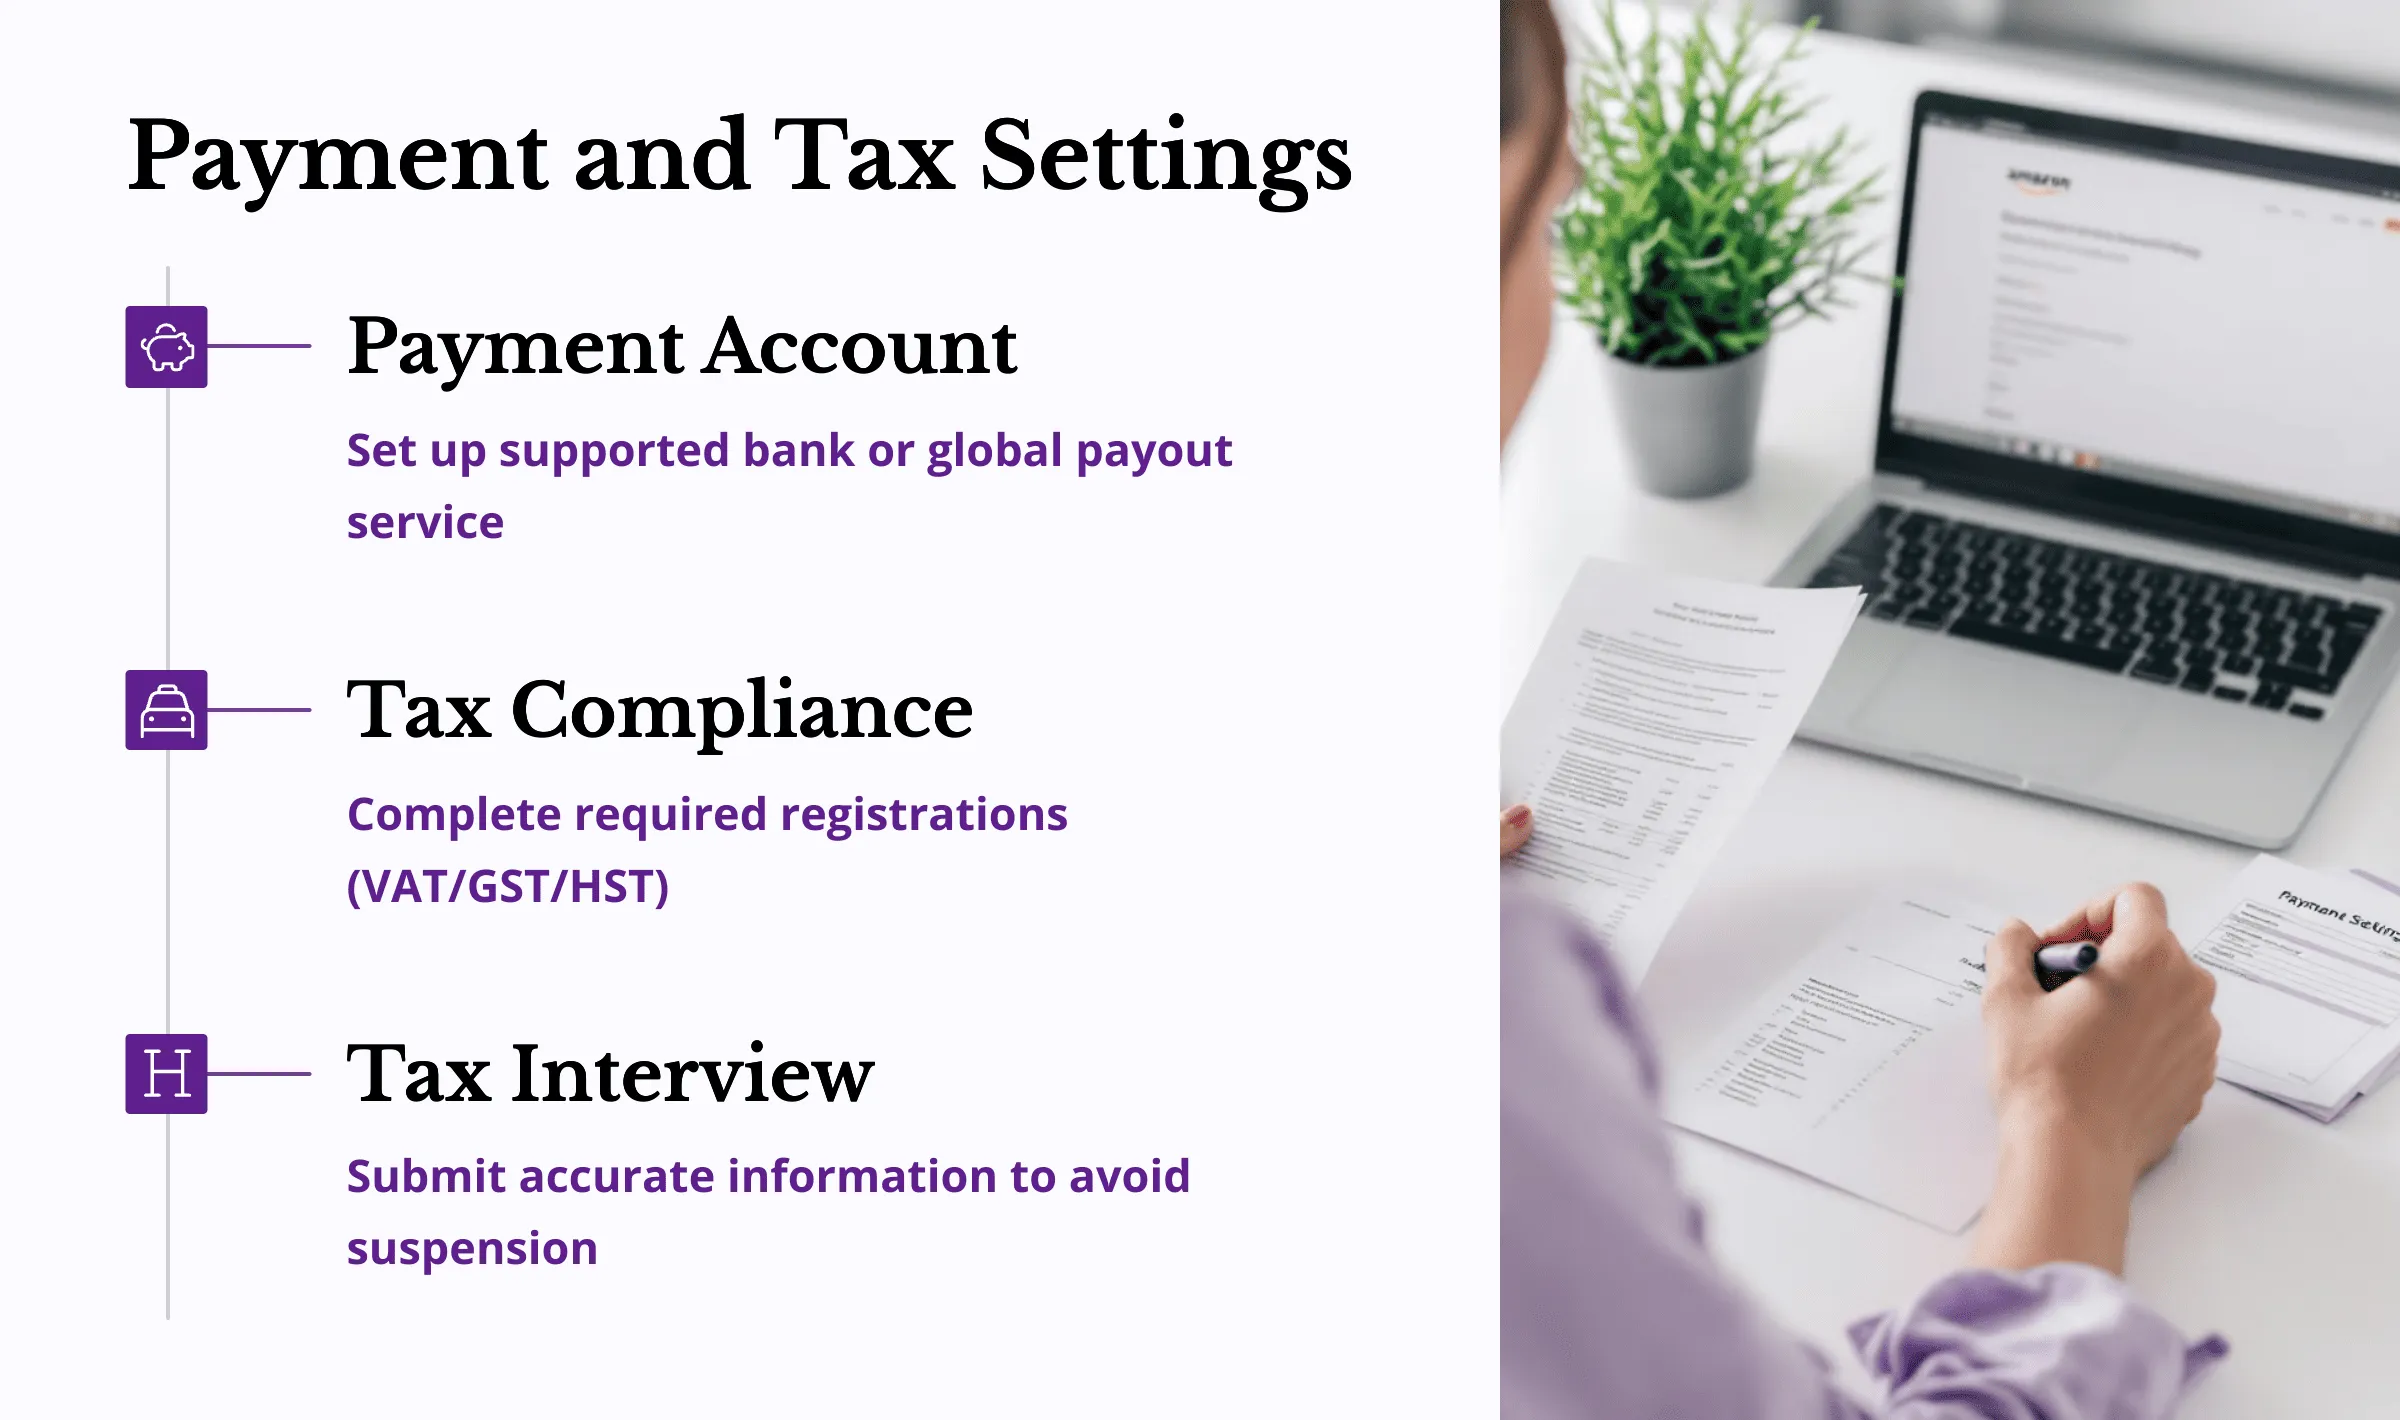
Proper financial setup is essential for smooth operations.
- Payment account: Use a supported bank or global payout service. Consider a USD account for international sellers.
- Tax compliance:
- EU: VAT registration and number required
- UK: VAT number required
- Australia: GST registration
- Canada: GST/HST registration depending on revenue
- Japan: JCT registration if applicable
Amazon may require an additional tax interview. Incorrect information can lead to account suspension.
5. Listing Products and Securing Your Account
You’re ready to sell! Finalize your Amazon store setup by completing these essential final steps:
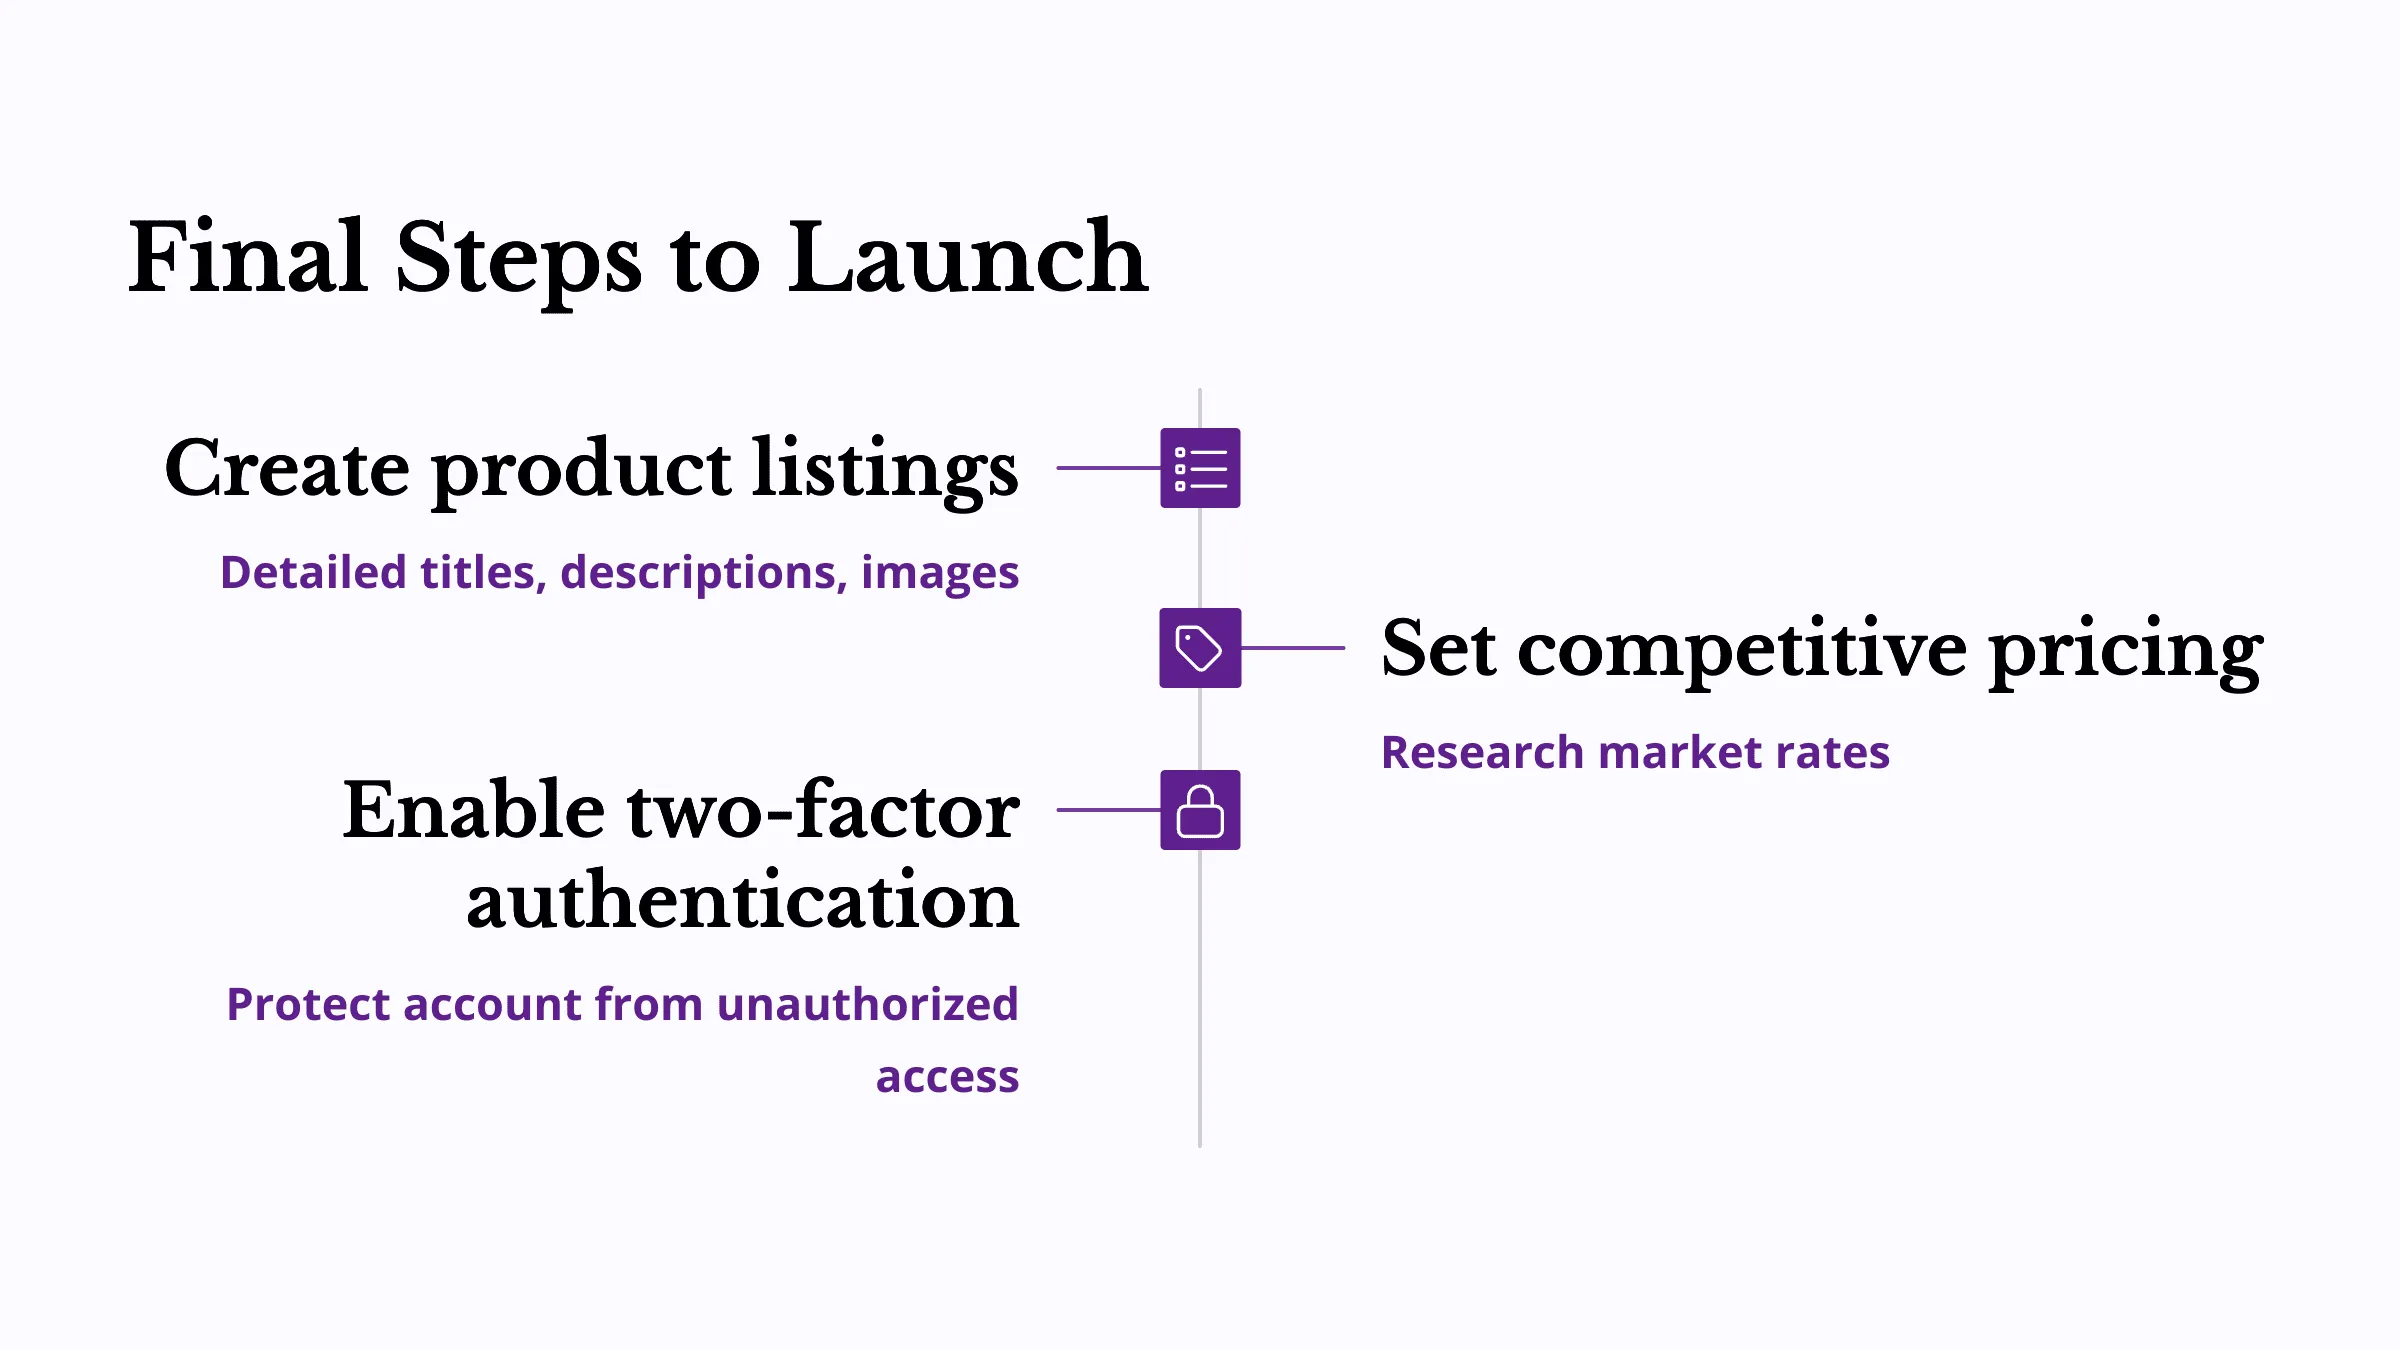
- Product listing: Select the appropriate product category and provide detailed titles, compelling descriptions, high-quality images, and competitive pricing. Accurate and optimized listings improve visibility and conversion rates.
- Two-Step Verification (2FA): Activate two-step verification to enhance the security of your Amazon Seller Central account. This extra layer of protection prevents unauthorized access and safeguards your business information and earnings.
Conclusion
Amazon Seller Central is the first and most important step in your e-commerce journey. Setting up your account properly ensures a compliant, secure, and competitive store. Follow these five steps to lay a strong foundation so you can later focus on marketing, customer service, and product optimization.
From product fulfillment to website setup, these are practical tools I’ve used myself.
- 👉 Printful – Easily launch a store without inventory and automate production & delivery.
- 👉 GoDaddy Domain Starter – Secure your brand with a custom domain name.
- 👉 GoDaddy Website Builder – Quickly build your website and brand assets in one go.
※ This post contains affiliate links. If you sign up or purchase through the links above, I may earn a commission—at no extra cost to you.
7. 5 Essential Amazon FBA Setup Steps to Optimize Logistics and Boost Sales